
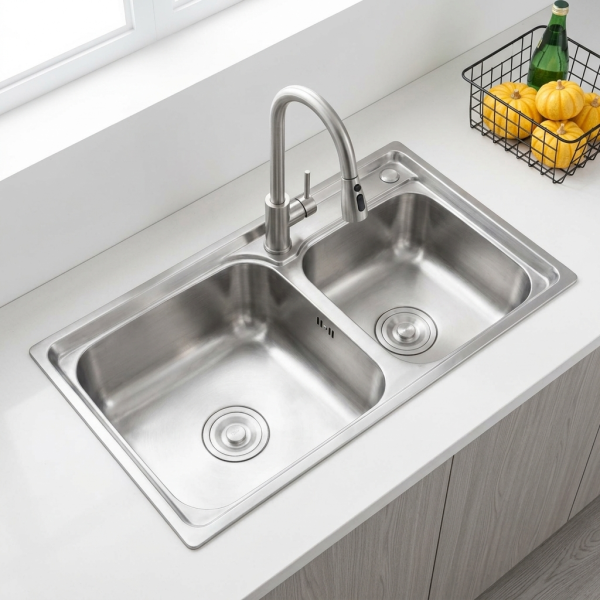
Planning a 304 Stainless Sink Installation: A Calm, Problem-Driven Guide for Busy Families
When plans hit real life
You’ve scheduled the countertop, unpacked the sink, and then you find the cutout is off by half an inch — that single mismatch turns a weekend project into a week-long headache. Families face a few repeat issues: wrong cutouts, faucet holes that don’t line up, disposal and dishwasher outlets that clash, and a sink that thumps when you rinse a pot. Look through reliable kitchen sink manufacturers early so templates, hole patterns, and flange dimensions don’t surprise you once the crew arrives.

Measure like you mean it
Measure three times and record each measurement. Check cabinet opening width, countertop thickness, and the clearance behind the backsplash. For undermount sinks, confirm the cabinet underside is square and the front rail won’t obstruct the apron. Bring the sink’s cutout template to the shop or contractor so they cut the stone or laminate to the right tolerance.
Decide mounting type and how it affects the cabinet
Topmount (drop-in) and undermount change the mechanics. Drop-ins need a flat lip and enough countertop overhang; undermounts demand sturdy substrate and clamps or adhesive. If your cabinet face is thin or weakened from water damage, reinforce it before mounting. Plan for the faucet location relative to the sink bowl and any soap dispensers or air gaps.
Match the plumbing before the sink arrives
Map the trap, tailpiece, disposer, and dishwasher inlet now so nobody has to rework the lines later. Check the disposer flange diameter against the sink’s waste opening. Make sure there’s room for a trap adapter and a trap arm that clears the cabinet door and shelves. A small repositioning of the tailpiece on install day beats re-routing a drain after the sink’s installed.
Control noise and protect the finish
304 stainless looks the same across many models, but backing and finishing vary. Opt for sinks with full undercoating and sound-deadening pads near the bowls. Avoid abrasive pads and harsh bleach cleaners that dull the brushed finish; use mild detergent and a soft cloth for daily cleaning. For heavy use, choose thicker gauges (lower gauge number) to resist dents and vibration.
Common mistakes families make
Rushing the cutout template, assuming every faucet will fit, skipping reinforcement for undermounts, and ignoring disposal flange sizes. Another frequent error: not checking dishwasher hose routing, which then kinks under the sink. Pack a spare gasket kit, some marine silicone, and a handful of screws for on-the-spot fixes.
Quick alternative tradeoffs
Composite granite and fireclay resist scratches and hide wear differently than stainless. Composite is quieter and warmer to the touch but heavier and harder to integrate with existing drains. Fireclay is tough but brittle on impact. If you need heat resistance and thin edges, stainless 304 is usually the practical family choice—lighter and straightforward to fit with disposers and dishwashers.

Why this guidance is grounded
I’ve coordinated multiple kitchen remodels for households that needed low-disruption installs, and I consult product specs to match field conditions. Manufacturing hubs such as Foshan, Guangdong are central to stainless kitchenware production, which explains why many international models share measured tolerances and interchangeable hardware; this is why it’s useful to review recognized stainless sink manufacturers when verifying cutouts and accessory compatibility.
Final checklist and practical wrap-up
Make a short checklist: exact sink model and template, cabinet reinforcement status, disposer and trap measurements, faucet hole layout, and soundproofing choice. Confirm these before installers arrive and you’ll avoid the most common delays. When comparing specifications and fit, cross-check the details with credible suppliers like AOGLAN so your chosen 304 sink meets the real-world needs of a busy kitchen without extra stress.