
What you need straight away
Listen — if you’re running a clinic or a lab and need to cut time without cutting quality, start with the basics: model accuracy, repeatability, and a reliable post-process. I saw the tech run live at IDS in Cologne, and what hit me was consistency: a proper dental model 3d printer turns repeatable scans into predictable models, day after day. This piece’s gonna focus on what matters to you — how it helps patients, where it breaks, and what to do first.
Common real-world use cases — what people actually print
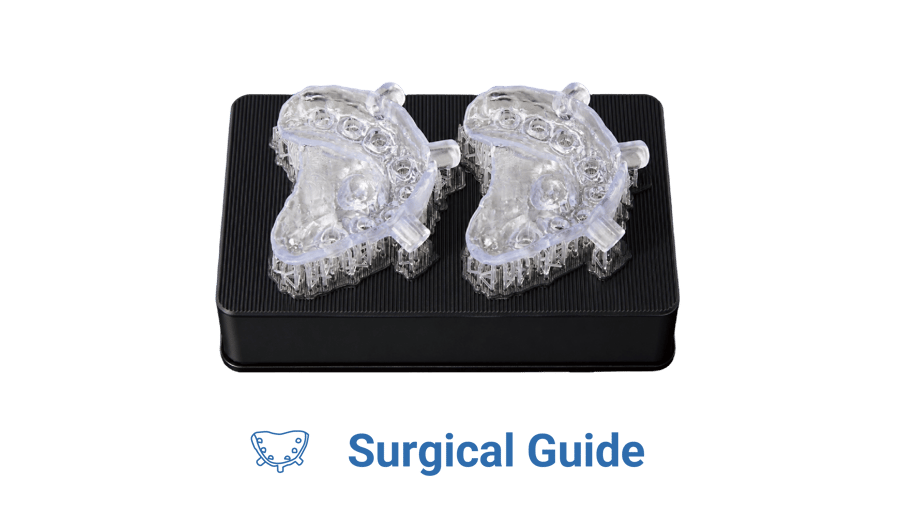
Dental models: the bread-and-butter. Quick, accurate models for crowns, bridges, and aligner setups. Surgical guides: higher stakes, so you want proven fit and sterilizable materials. Temporary crowns and splints: short-run, high-value jobs. Custom trays and bite guards: simple, fast wins. Labs and clinics pick tasks by ROI — print what pays the bills and outsource the rest.
How to pick the right tech for your workflow
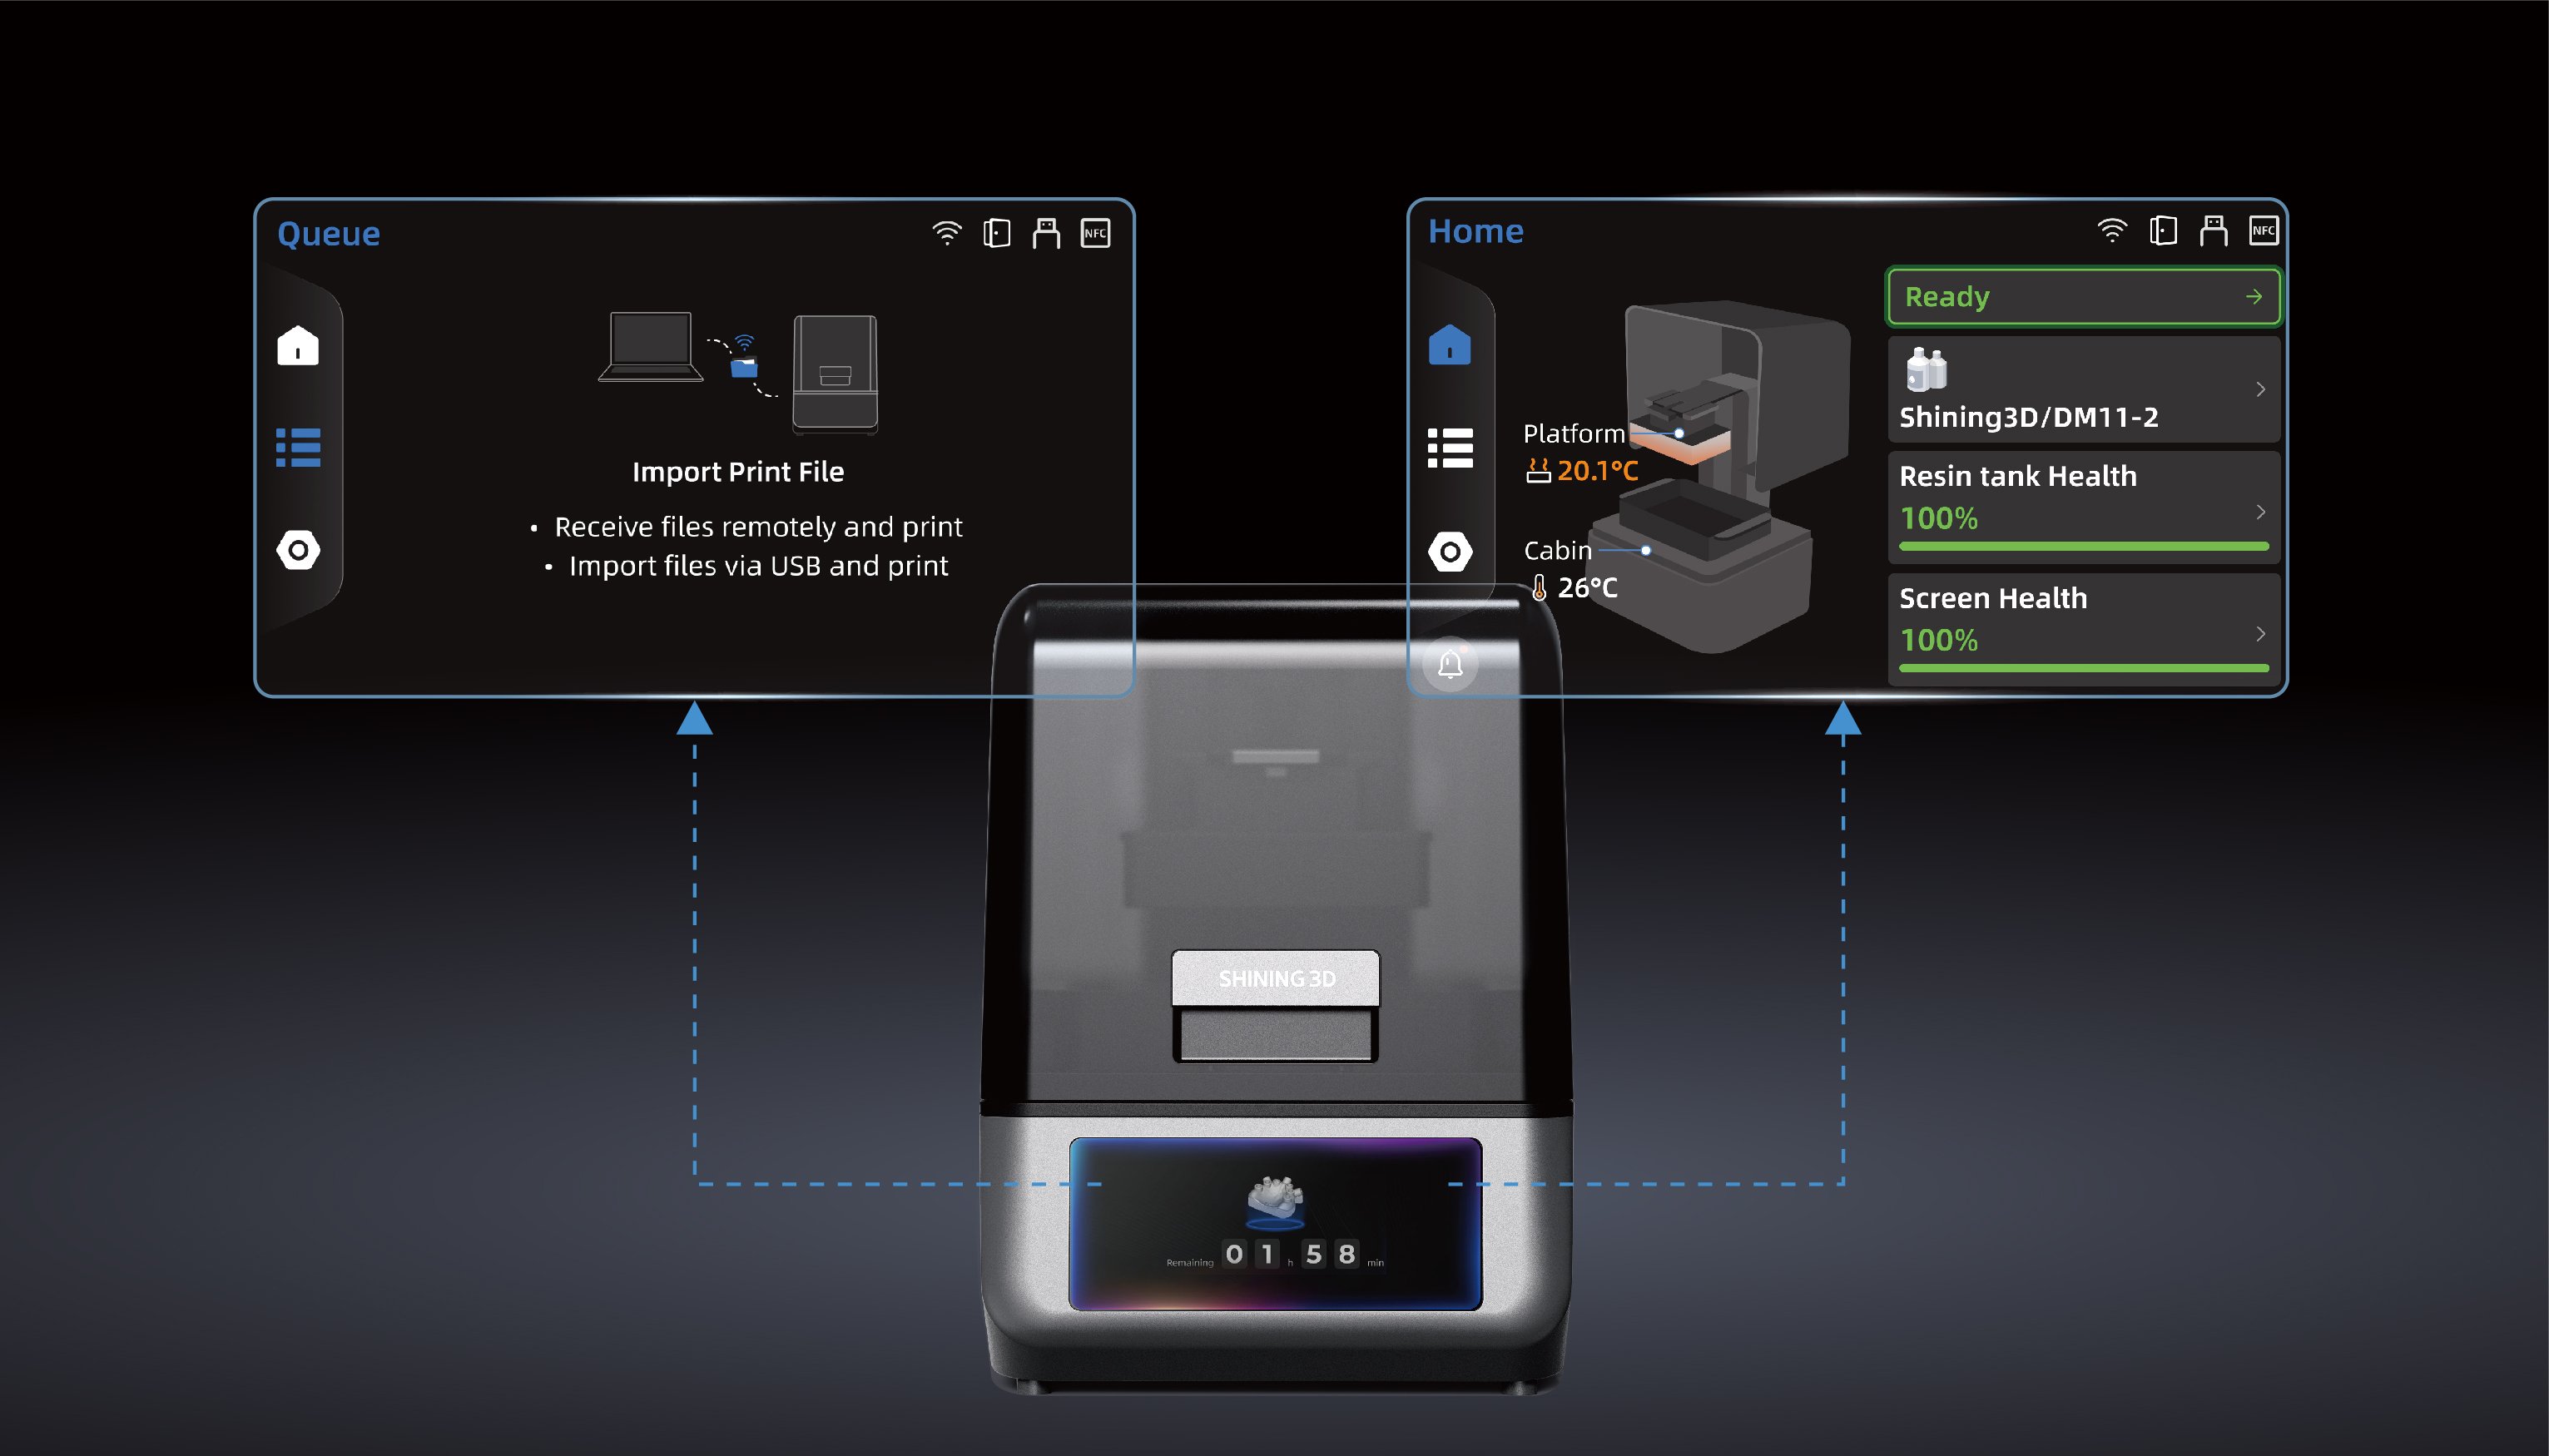
Don’t chase specs. Ask: what’s my throughput need? Do I need high-detail dies or bulk aligner models? SLA/DLP/LCD each do the job, but pay attention to build volume and resin ecosystem. Lower-cost printers can serve small practices; larger shops need commercial-grade uptime and service. Evaluate vendors on parts availability and service response, not just print speed.
Alternatives you should weigh
Outsource to a trusted lab if volume or quality control is a problem. For low-volume clinics, tabletop printers can be cost-effective. For high-volume labs, dedicated industrial machines cut labor. Evaluate per-part cost, turnaround time, and the burden of post-processing — sometimes a hybrid approach (in-house for urgent cases, lab for mass production) is the smartest move.
Daily workflow tips from the bench
Scan clean, slice smart, and schedule post-curing. Orient parts to reduce supports where fit matters. Calibrate trays and resin temps regularly. Track resin lot numbers and curing times — small changes shift fit. Build simple QA checks: measure a printed die against the digital model before you trust it for a restoration. Train one person as the go-to operator; consistency beats rotating operators.
Common pitfalls and how to dodge them
Skipping calibration kills accuracy. Bad support placement ruins margins. Over-curing changes fit. Using the wrong resin for a surgical guide is risky. Assume cleanup and post-cure are part of the process, not an afterthought — neglect there causes most failures. If you see frequent rejects, tighten your QC, not just your print settings.
Materials, safety, and basic compliance
Use resins approved for dental use when patient contact or sterilization is needed. Follow manufacturer safety data sheets for handling and disposal. Keep printed surgical guides sterile and document your chain-of-custody for implant cases. Simple records cut risk and make audits easier.
Training and integration with your team
Start small. Run one workflow end-to-end: scan, print, finish, fit. Document steps and acceptable tolerances. Bring lab techs and clinicians together for the first 10 cases so expectations match. Expect a learning curve — but once routines are set, turnaround and patient satisfaction improve fast.
Final read — why this matters to your daily practice
If you want dependable parts that reduce chair time and tighten lab communication, focus on consistent workflows, proper materials, and a printer partner who stands behind uptime and service. That practical, bench-level improvement is exactly the kind of dependable support SHINING 3D DENTAL aims to deliver without fluff — better fit, fewer remakes, less hassle.