
The Problem: When Seats Fail, Work Grinds to a Halt
On any busy site — take the Big Dig years in Boston as an example of constant heavy use — worn seats translate directly into lost hours and sore backs. Operators push machines harder when the suspension seat or lumbar support falls apart, and that fatigue shows up in mistakes. Start with a simple habit: inspect the universal truck seat and surrounding mount each morning. A quick look catches loose mounting bracket bolts, ripped vinyl upholstery, and failing shock absorber assemblies before they become full stoppages.
Quick Diagnostics Every Crew Should Run
Make this a two-minute routine at shift change. Check for play in the mounting bracket, test the seat adjustment mechanisms, and confirm the seatbelt retractor works cleanly. Look at foam density by pressing the cushion edge — if it collapses, foam has broken down and needs replacement. Track these checks on a simple whiteboard or digital log; consistency beats memory. If anything feels off, tag the unit out for a focused repair rather than letting operators “get by” — that’s how small problems become big ones.
Common Mistakes That Double Repair Time
Crews often swap parts without matching specs. Installing an aftermarket cover designed for highway trucks on heavy off-road use creates rapid wear — this applies especially to off road seats for trucks where foam density and suspension travel must match the rig. Another slip: overtightening fasteners and warping the mounting bracket. Keep torque values consistent and store replacement parts in a dry spot so vinyl and foam aren’t ruined by prolonged UV or moisture exposure — small storage habits save repair hours later.
Parts and Terms That Actually Matter
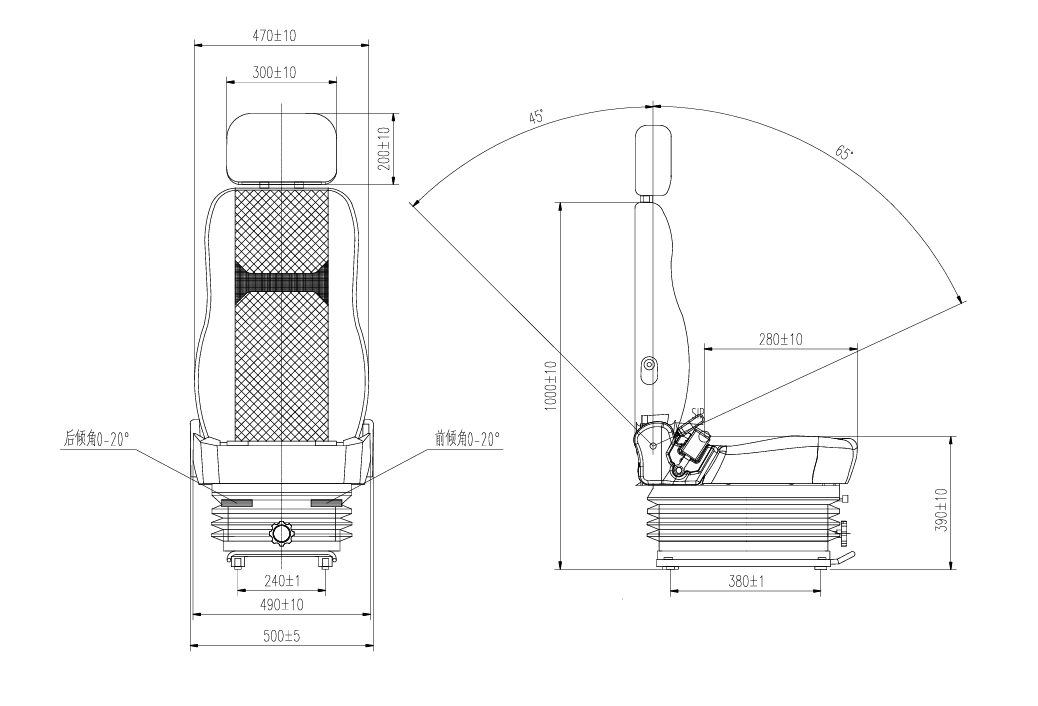
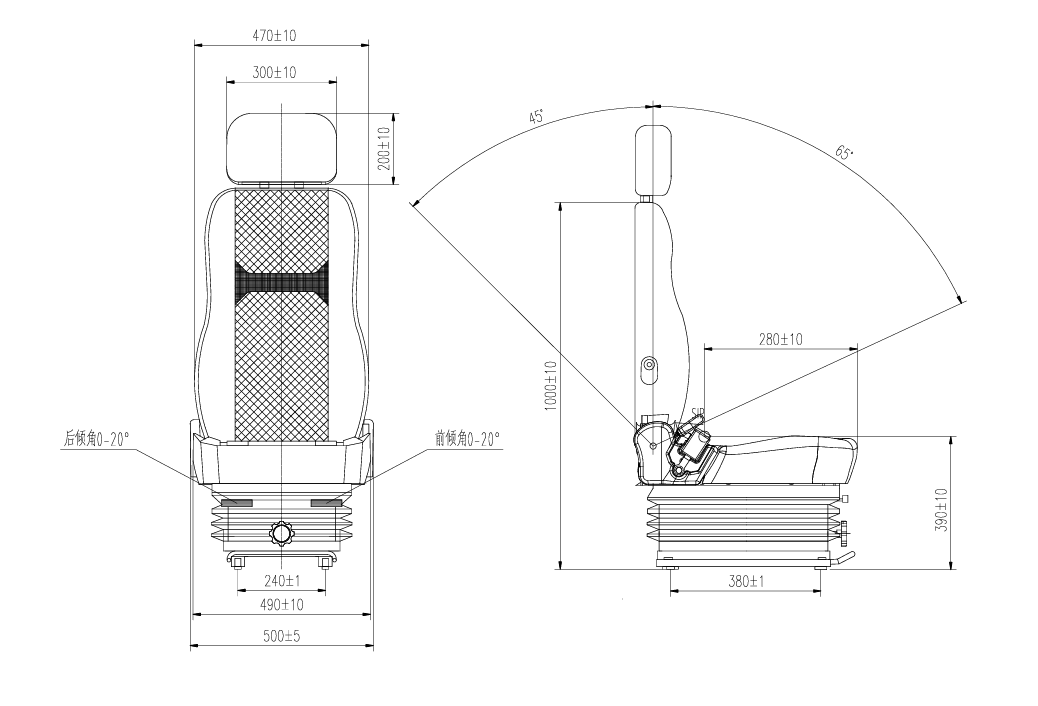
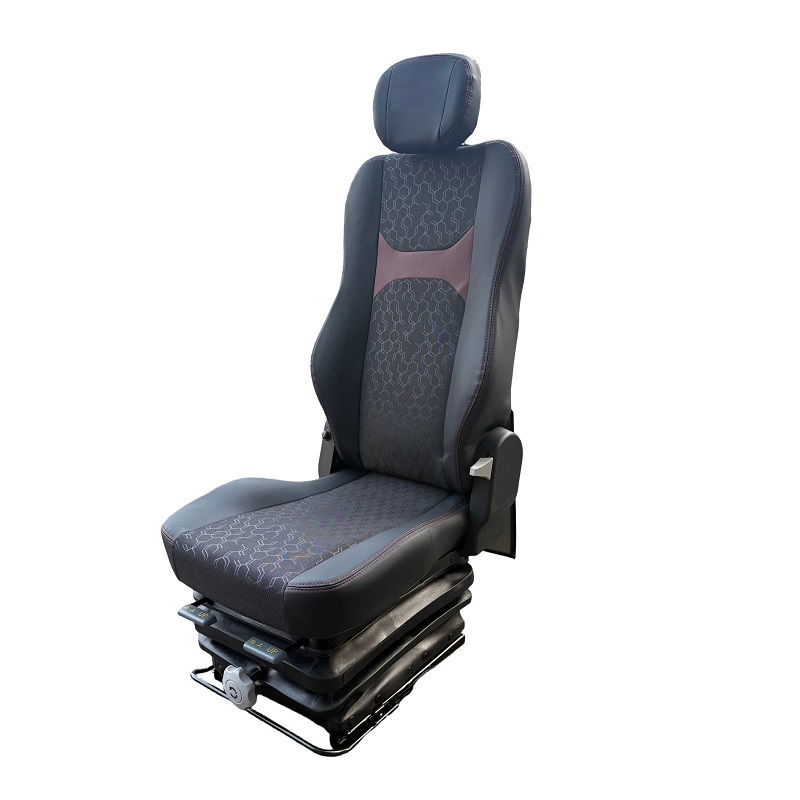
Understand the handful of components that determine seat life: suspension seat mechanism, lumbar support, foam density, vinyl upholstery, shock absorber, and seatbelt retractor. Replace components based on wear, not age alone. For example, a suspension seat that shows lateral play will transmit vibration into the operator’s spine; swapping the shock absorber might fix it, but worn bushings or a cracked mounting bracket will keep the problem coming back. Label spares clearly so techs don’t mix parts between different machine classes.
Routine Tasks and Timing
Set clear intervals: daily visual checks, weekly functional tests (adjustments, sliders, recline), and quarterly deep inspections (foam compression tests, full upholstery checks, hardware torque verification). Keep a small toolkit on-site with grease, thread locker, and a spare seatbelt retractor — those three items fix more downtime than you’d expect. Train one operator per crew to be the seat champion; they’ll catch trends early and keep service records tidy — which helps when warranty time comes up.
How to Prioritize Repairs Without Guesswork
Use this triage: safety items first (seatbelt retractor, mounting integrity), then operator comfort that affects focus (lumbar support, suspension), then cosmetic or minor issues (surface tears). Track mean time between failures for each seat model you use — that simple stat helps decide whether to repair, refurbish, or replace at scale. Keep an eye on compatibility: not all replacement covers and cushions play nicely across machine generations.
Three Golden Rules for Choosing and Maintaining Seats
Rule 1 — Match function to environment: choose seats with heavy-duty suspension and robust vinyl for high-vibration sites. Rule 2 — Maintain to schedule: daily checks and quarterly deep inspections reduce unplanned downtime by catching wear early. Rule 3 — Keep correct spares and clear records: having the right replacement components (correct foam density, shock absorber spec, and mounting hardware) on-hand saves days of waiting. These metrics will show you when a model is a cost saver or a recurring expense.
Source lessons learned on site and in the shop — they add up. Source One. —